nbgrader
Please watch this video to become familiar with how assignments via the notebook work.
Instructions:
login to JupyterHub: https://physga-2059-fall.rcnyu.org
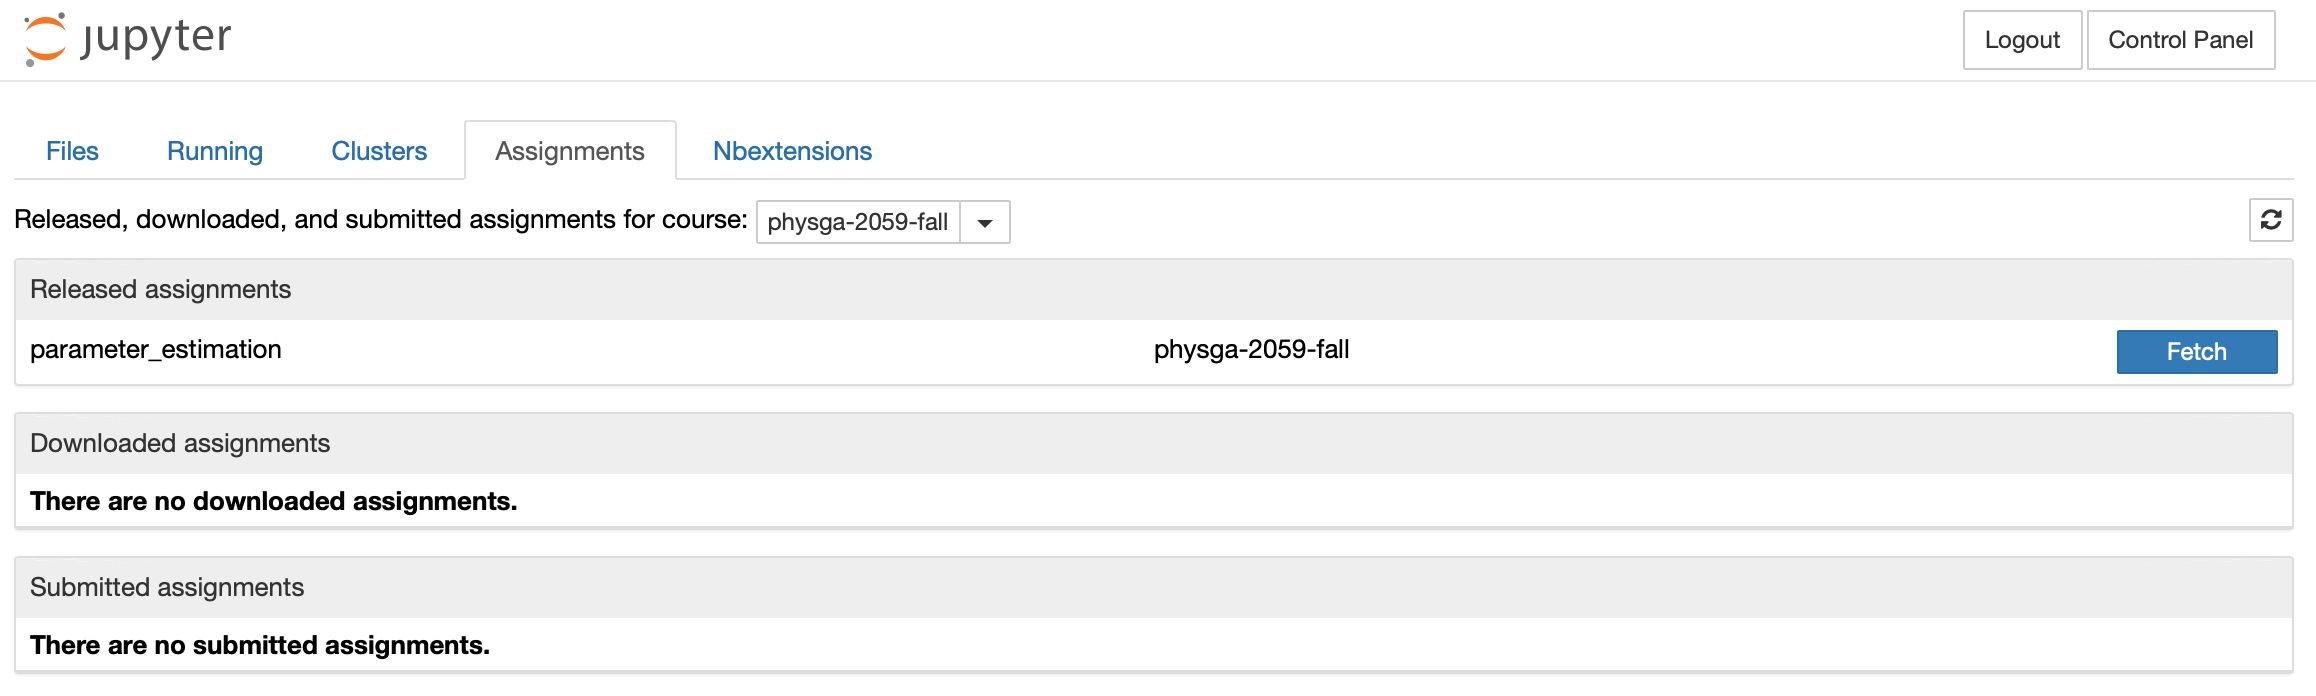
You will see the files in your home area and tabs for Files, Running, Clusters, Assignments, Nbextensions. Click the Assignments tab.
You should see Released Assignments, Downloaded Assignments, and Submitted Assignments. If there are new assignments, then you should have a Fetch button. Click the Fetch button.
This should create a new folder in your home area with the name of the assignment, and it may have more than one notebook inside.
In the Downloaded assignments area, you will see the assignment name with an arrow. Click the arrow to see the notebooks inside.
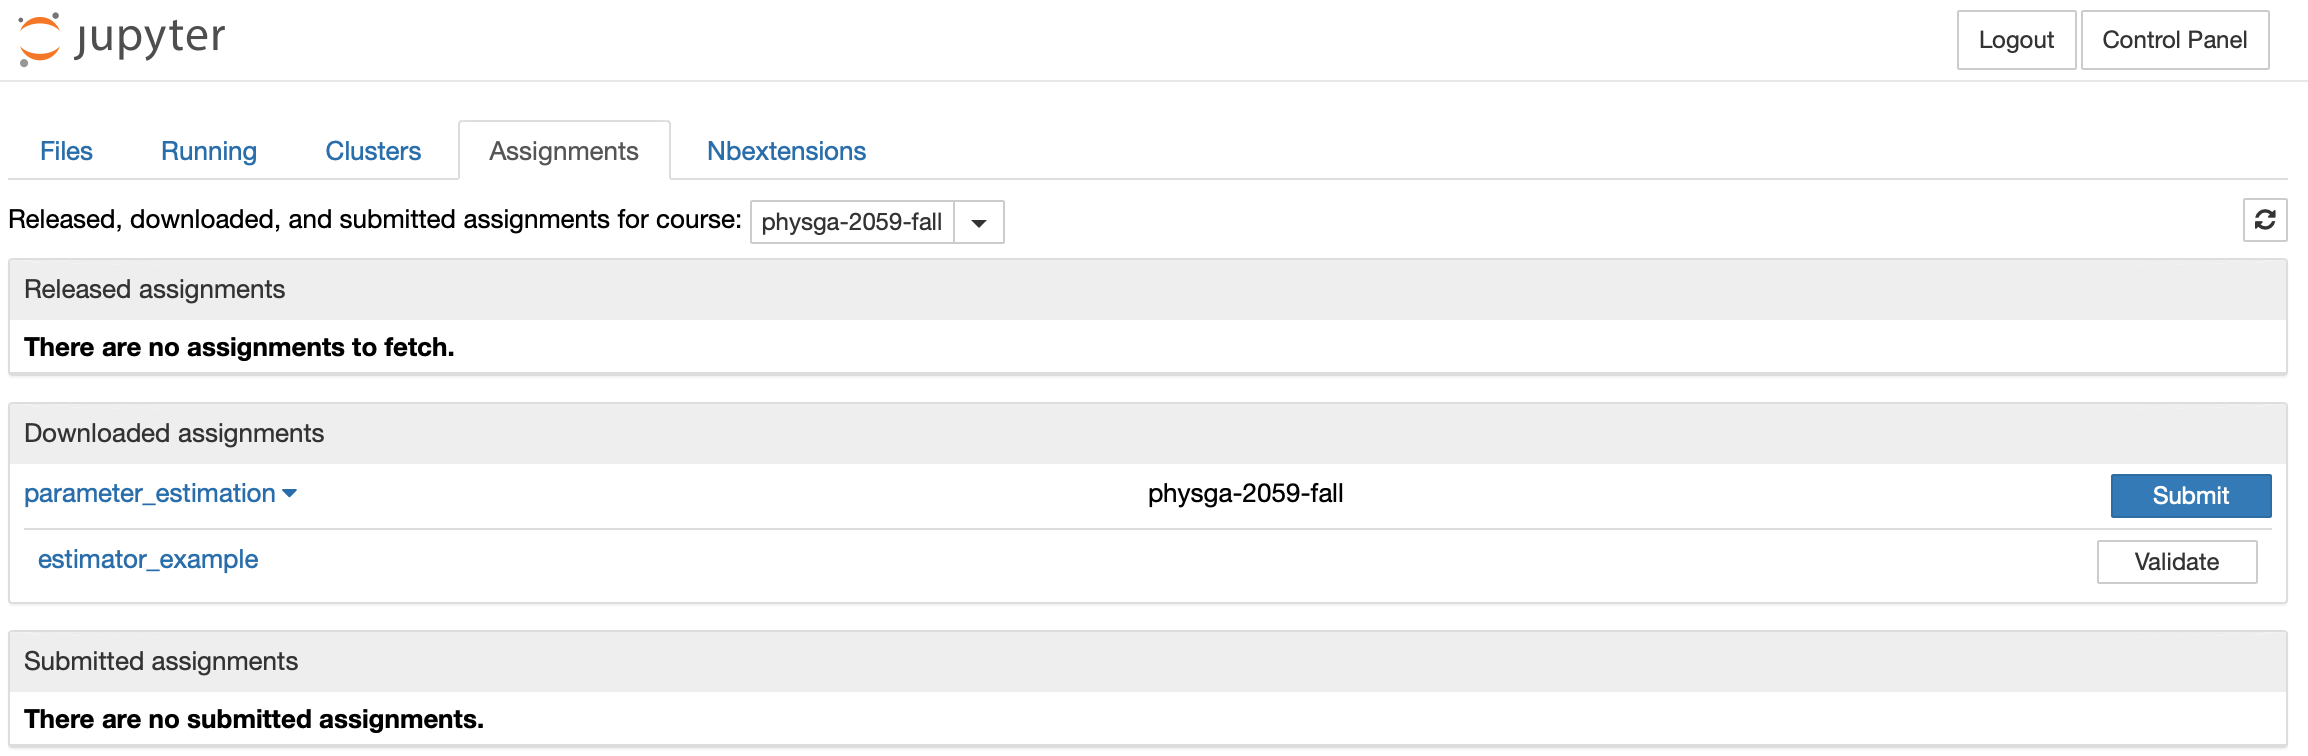
DO NOT click the Submit button yet.
You can click the validate button to see what happens. It will show several messages with
NotImplementedError: – that’s expected, how nbgrader indicates that you need to fill in some code.
Click on one of the notebooks. (This will take you to the classic notebook interface. If you want, you can use JupyterLab. At this point the notebook is just like any other notebook in your home directory. You can make some changes, save them, logout, come back, make more changes, etc. no problem. )
Now you should go throught the notebook starting at the top. Read the code and the notes carefully to understand what is going on. You can execute the cells one by one (Shift-Enter) as you go along. At some point you will find
    # YOUR CODE HERE
    raise NotImplementedError()
If you run this cell it will raise an error. You should replace
raise NotImplementedError()with your implementation (which maybe a several lines long). Usually there will be a comment just above this that describes what the function or code snippet should do.Once you’ve written that code, you should be able to execute the cell without errors and continue.
Later in the notebook you will encouter some tests. They look like something like this usually:
"""Check that mu1 returns the correct output for several inputs"""
assert_almost_equal(myfunction(some_input), expected_value)
This is how nbgrader will automatically grade the assignments. It’s also closely connected to the idea of unit testing in software development. The tests should be there so that you can be reasonably sure that the code is doing what it is supposed to do.
If the tests fail, then you should go back and work on your implementation until the tests pass.
WARNING! You probably want to restart the kernel and rerun all the cells (up to the part you are on) everytime you change things. If you execute the cells out of order, then global variables may have different values than they would have if you just ran the notebook from scratch.
Note: there can be some additional hidden tests that are used during grading, but not visible to you.
Once you make it to the end of the notebook and you are satisfied, then you are almost ready to submit.
Make sure you save the notebook
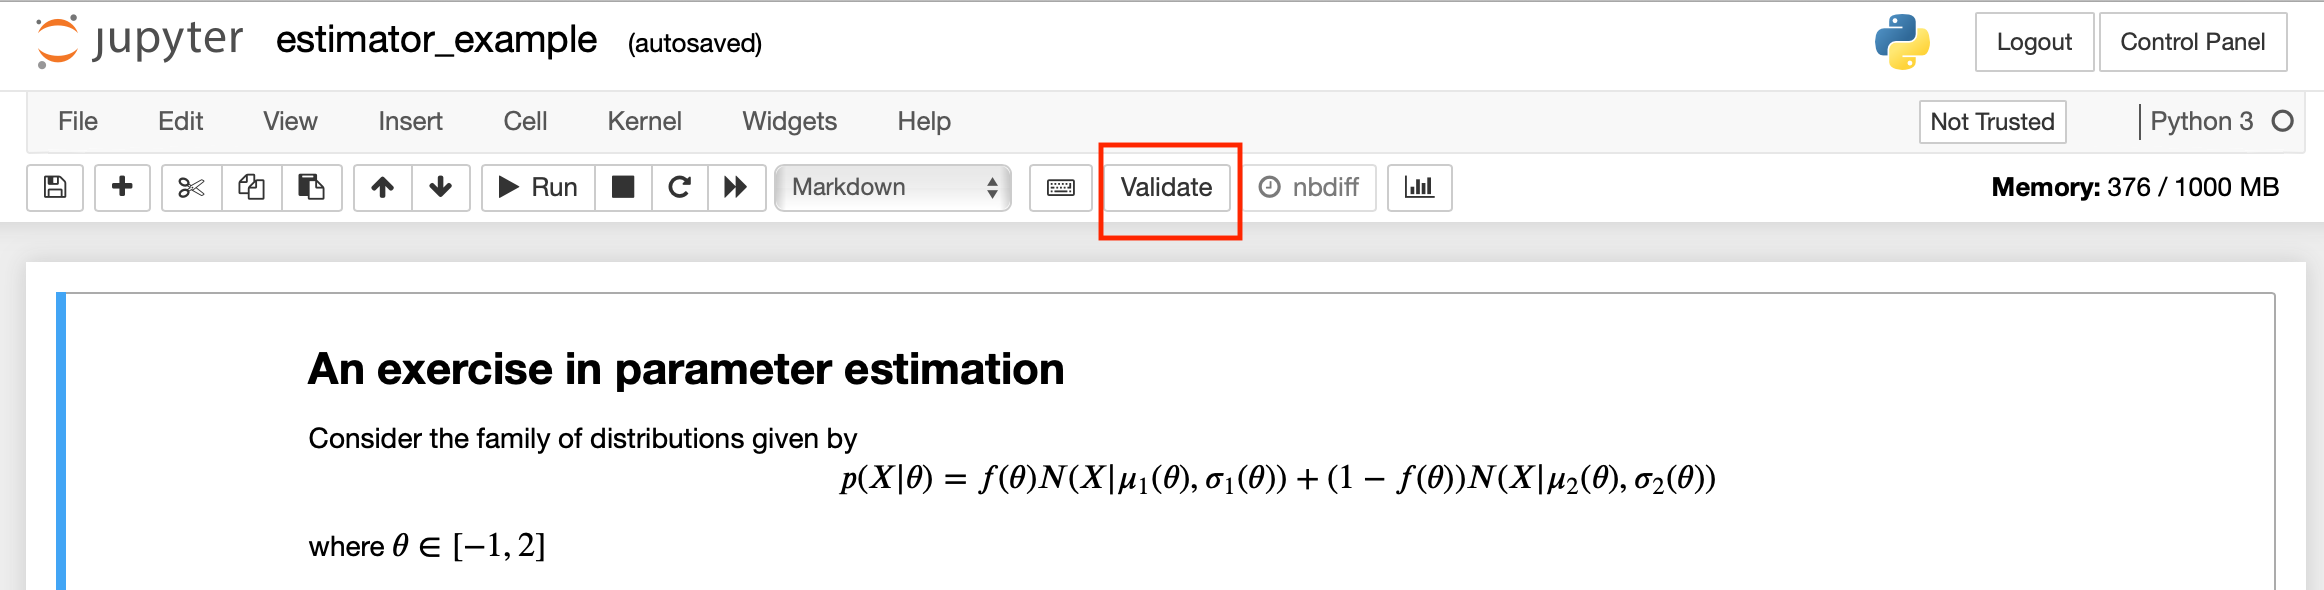
In the menu bar you should see a button that says “Validate”. Click it to check that all the checks pass.
Alternatively, you can validate the notebook from the Assignments tab in the Jupyter Homepage
Go back to Jupyter homepage (you can click on the Jupyter logo in the top left of the notebook)
Click on the assignments tab
Expand the list of notebooks in the assignment
If you haven’t already, you can click Validate for the notebooks
If they pass, then click Submit